So, you want to transfer some logs or files from your Red Hat or Ubuntu VM to your local workstation for further analysis, or you need to upload a script or package from your Windows Desktop to your Linux Server?
Nowadays, it’s extremely straight forward to run a Linux Terminal in Windows with your favorite Linux flavor in the event that you want to quickly grep something, run specific Linux command line utilities (nmap anyone?) or possibly utilize rsync or scp to push or pull files from your Windows Desktop to a Linux machine. This Windows feature which became readily available in 2016, is called WSL or Windows Subsystem for Linux. The installation process is amazingly simple:
- Install Windows Terminal from the Windows Store
- https://apps.microsoft.com/detail/9N0DX20HK701
- Enable the WSL/WSL2 Feature:
- https://learn.microsoft.com/en-us/windows/wsl/install
- wsl –install
- Once enabled, head back to the Windows Store and install your favorite Linux Distro, Ubuntu 22.04 perhaps:
- https://apps.microsoft.com/detail/9PN20MSR04DW
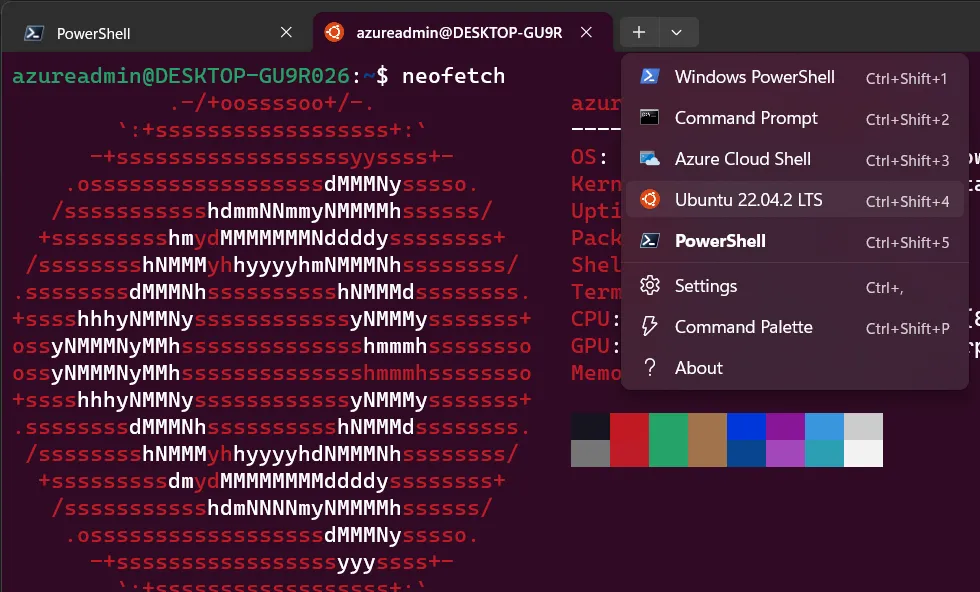
- Once installed, and after setting up your user; open up Windows Terminal – you will have an option for a new Tab that will include your WSL Ubuntu installation:
man rsync | col -b | grep NAME -m1 -A1
NAME
          rsync - a fast, versatile, remote (and local) file-copying tool
Rsync utilizes ssh to transfer files to and from your VM, so if you have ssh connectivity to your VM, then you can use rsync. If you need to test and verify if port 22 is open you can check via nmap or telnet:
sudo apt install nmap -y
...
nmap 24.24.24.24 -Pn
Nmap scan report for mysuperdupervm (24.24.24.24)
Host is up (0.048s latency).
Not shown: 997 filtered ports
PORT    STATE SERVICE
22/tcp  open  ssh
WSL will automatically mount files on your C: drive under /mnt/c – but you can also drag and drop files into this Linux installation from file explorer if you wish – that would be the pinguin icon under “This PC” in file explorer.
Once you have sourced your file, you can pull or push the file via rsync <filename> <user>@address:<path>. Below we have appended some switches to display the progress, -a for archive mode, -v for verbose, and -e ssh to specify the shell type to use. The file path here is also ~ which represents the home path of the user specified, so beware of that and specify additional paths as necessary while also noting that in general a user should have access to their own home path.
rsync -e ssh -avvi file.txt ubuntu@192.168.1.135:~/ --progress
To pull a file from your VM through WSL to you home directory, use rsync to both specificy the source and destination location as follows:
rsync -e ssh -avvi ubuntu@192.168.1.135:~/file.txt ~/file.txtSCP stands Secure Copy(cp) and also utilizes OpenSSH or port 22 for transfers that are secure by default. Overall, scp should also perform faster than rsync.
man scp | col -b | grep NAME -m1 -A1
NAME
     scp — OpenSSH secure file copy
Usage is similar to rsync: scp <filename> <user@>address:<path>. Standard switches would include: -r recursively copies entire directories and follows symbolic links. -p preserves modification and access times of files, -C enable compression, -i select a ssh identity file.
To send or push a file to a destination:
scp -C /home/path/filename.txt username@192.168.1.135:~/filename.txt
Pulling a file would be similar, but in reverse:
scp -C username@192.168.1.135:~/filename2.txt ~/filename2.txt
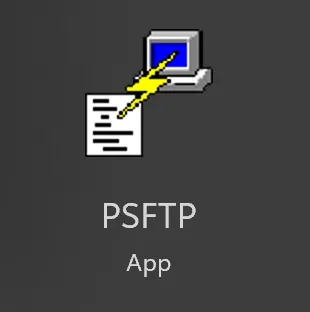
For those die hard Putty.exe fans, Putty does offer an option as a secondary binary which is installed next to your default putty installation, normally located in: C:\Program Files\PuTTY\psftp.exe
When opening psftp.exe, you will be presented with the default command line dialog: use “open host.name” to connect, psftp>. Typing “help” will further display available commands:
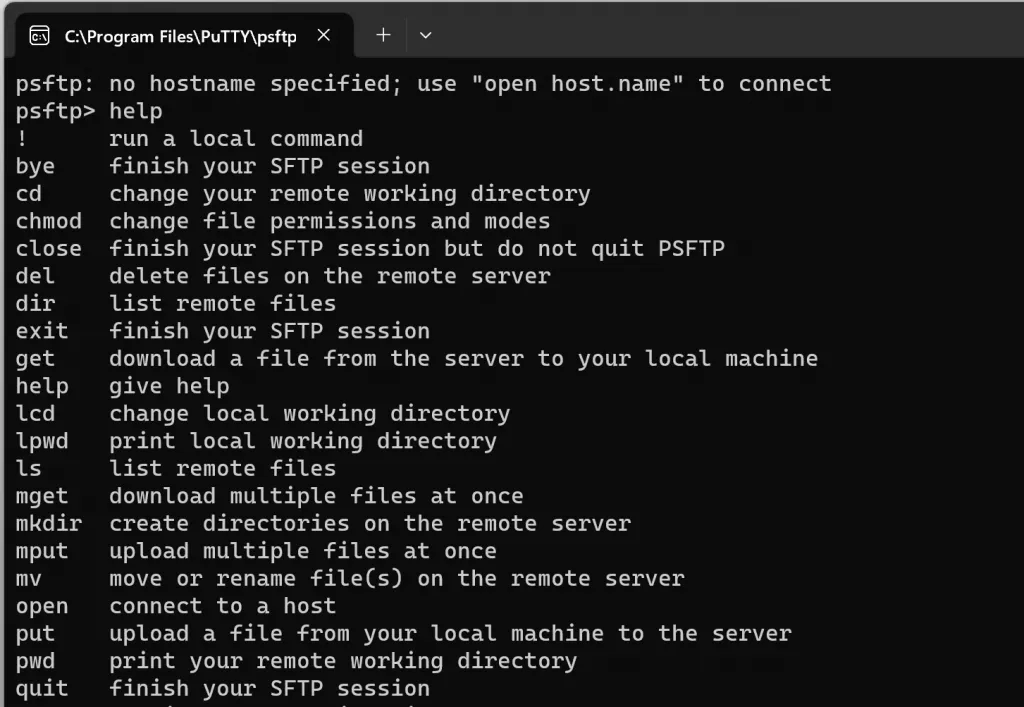
Before pushing/pulling files, you will want to connect with the open command:
open 192.168.1.135
y
username
password
After successful authentication, you will be in the default home directory of the user with which you logged in with and existing files there can be viewed with the ls or dir commands. Files are sent to the server with the put command and downloaded with the get command, similar to ftp commands. Local commands continue to be able to be run appended with a !(bang) for example:
!dir C:\Temp\folder\filename.txt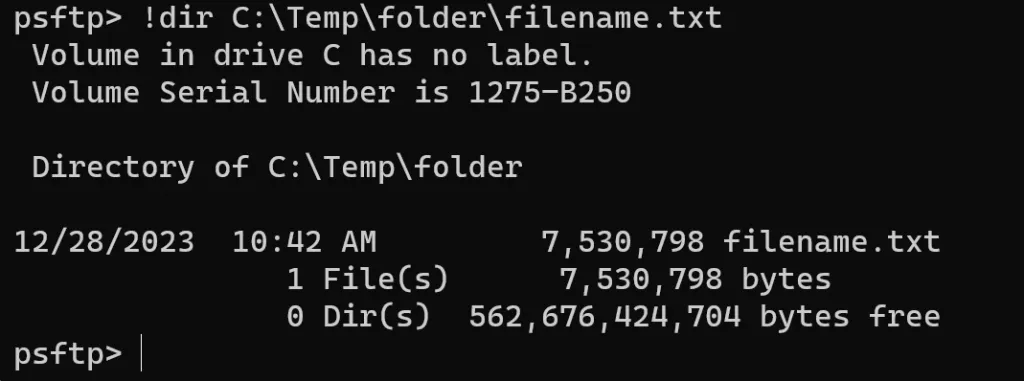
To send a file to the remote server with Putty psftp.exe using the put command:
put C:\Temp\folder\filename.txt
To receive a file or pull it locally with Putty psftp.exe using the get command:
get filename.txt C:\Temp\filename.txt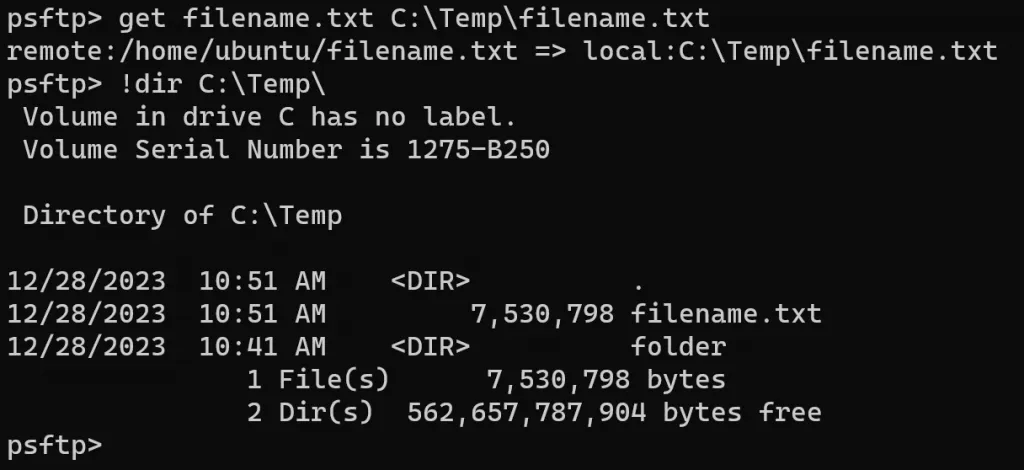
That should cover several options which would allow you to push/pull/send/receive files from Windows to Linux over ssh protocol utilizing scp, rsync or psftp.exe. Let us know of your favorite methods and switches below!